Home > Historic > Battles > Related Images
The Highland Charge at the Battle of Amoaful (litho)
")
![]()
Wall Art and Photo Gifts from Fine Art Finder
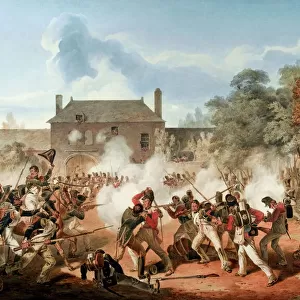
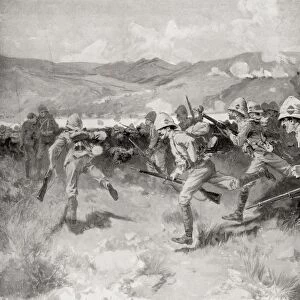
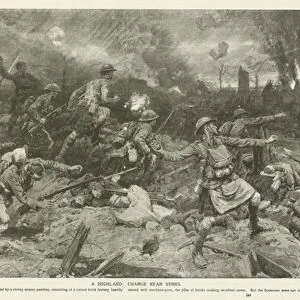
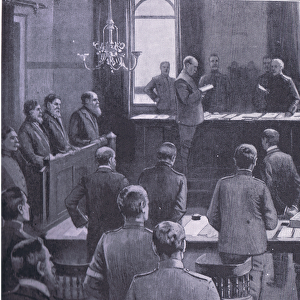
The Highland Charge at the Battle of Amoaful (litho)
960525 The Highland Charge at the Battle of Amoaful (litho) by Wood, Stanley L. (1866-1928) (after); Private Collection; (add.info.: The Highland Charge at the Battle of Amoaful. Illustration for The British Empire in the Nineteenth Century by Edgar Sanderson (Blackie, 1898).); © Look and Learn
Media ID 23526680
© Look and Learn / Bridgeman Images
British Empire Colonies Imperialism
FEATURES IN THESE COLLECTIONS
> Fine Art Finder
> Artists
> Enoch Ward
> Fine Art Finder
> Artists
> Stanley L. (after) Wood
> Fine Art Finder
> Temp Classification
> Historic
> Battles
> Related Images
EDITORS COMMENTS
The Highland Charge at the Battle of Amoaful lithograph print captures a pivotal moment in British imperial history. Created by Stanley L. Wood and featured in Edgar Sanderson's book, The British Empire in the Nineteenth Century, this artwork showcases the power and might of the British Empire during its colonial era. Set against a backdrop of lush greenery, brave Scottish soldiers charge forward with their bayonets fixed, ready to face their enemies head-on. Their kilts billow in the wind as they display unwavering courage and determination on the battlefield. This image symbolizes not only Britain's military prowess but also its ambition to expand its empire across continents. It represents an era when Great Britain sought to establish dominance over various colonies around the world. The Battle of Amoaful was a significant event during this time period, where British forces clashed with Ashanti warriors in present-day Ghana. This lithograph immortalizes that intense encounter between two cultures and serves as a reminder of Britain's imperial legacy. As we gaze upon this print from Fine Art Finder, we are transported back to an age when European powers vied for control over vast territories. It is both a testament to human resilience and an exploration into historical narratives that continue to shape our understanding of imperialism today.
MADE IN THE USA
Safe Shipping with 30 Day Money Back Guarantee
FREE PERSONALISATION*
We are proud to offer a range of customisation features including Personalised Captions, Color Filters and Picture Zoom Tools
SECURE PAYMENTS
We happily accept a wide range of payment options so you can pay for the things you need in the way that is most convenient for you
* Options may vary by product and licensing agreement. Zoomed Pictures can be adjusted in the Cart.